Installing Kali Linux using Vmware
Installing Kali Linux using windows subsystem
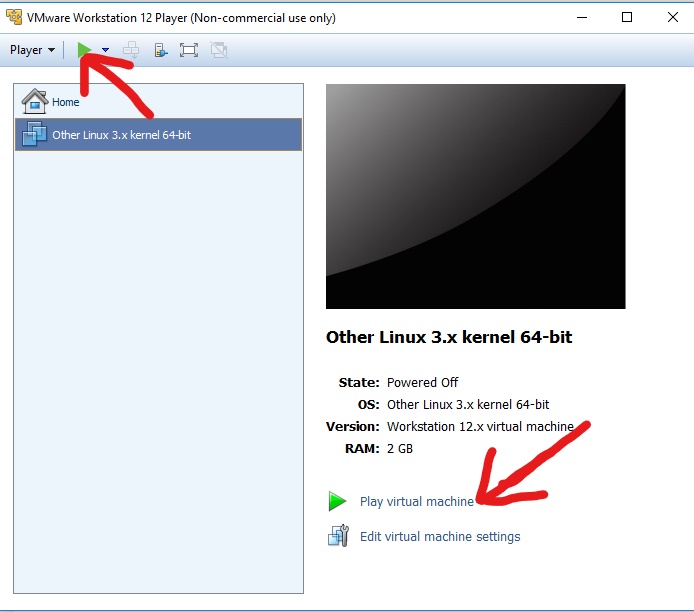
1. Installing Kali Linux Using Vmware



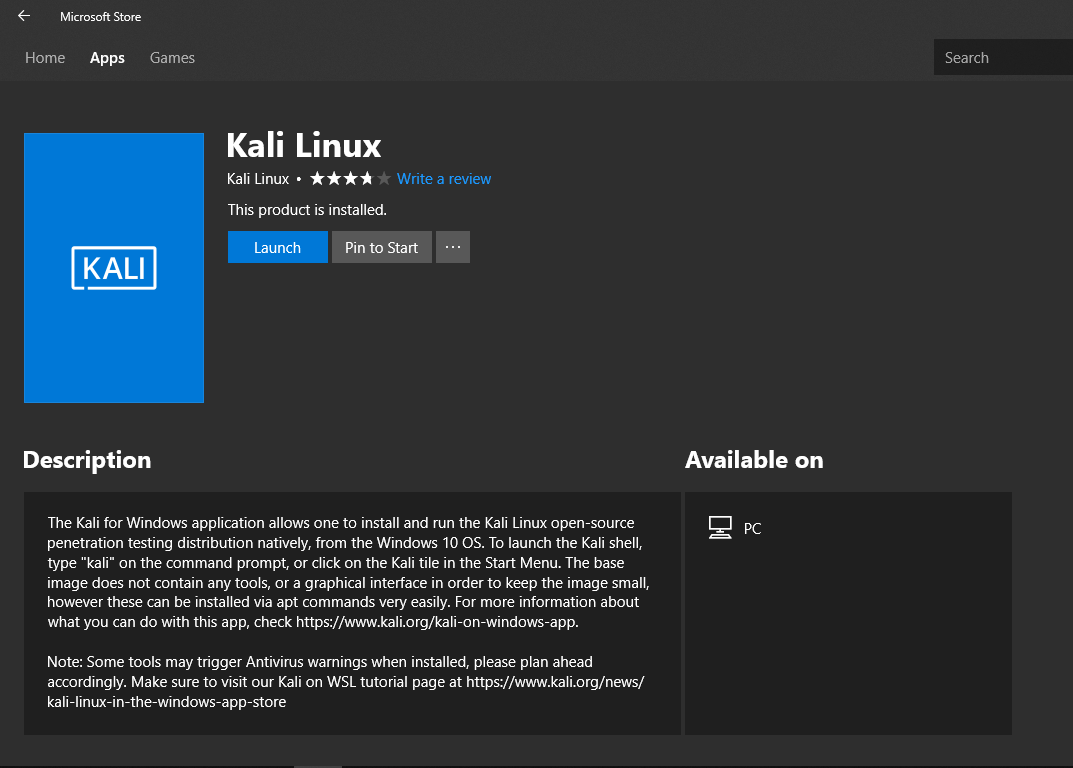
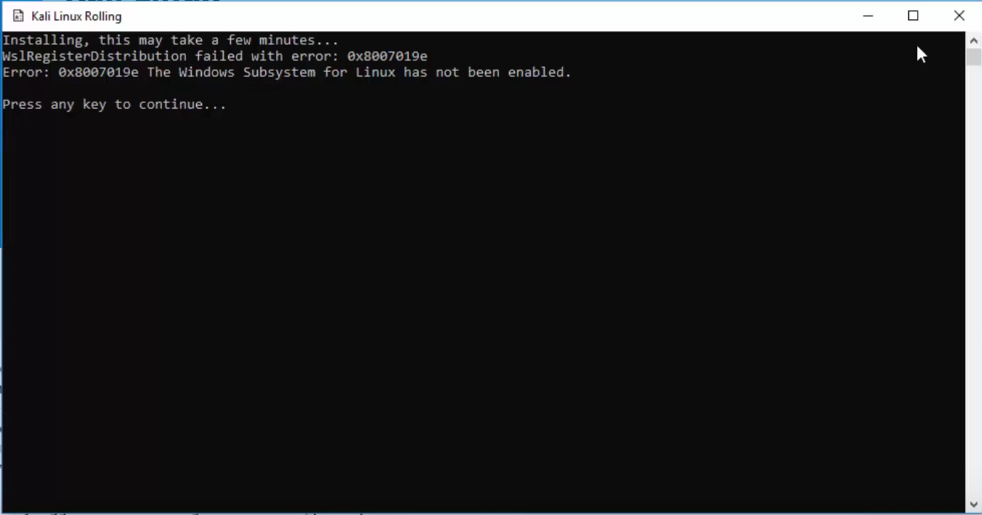
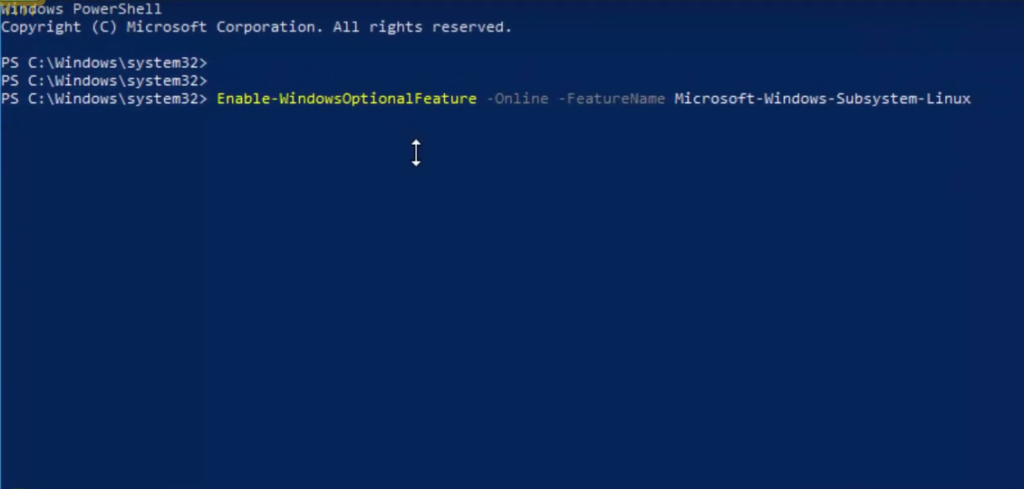
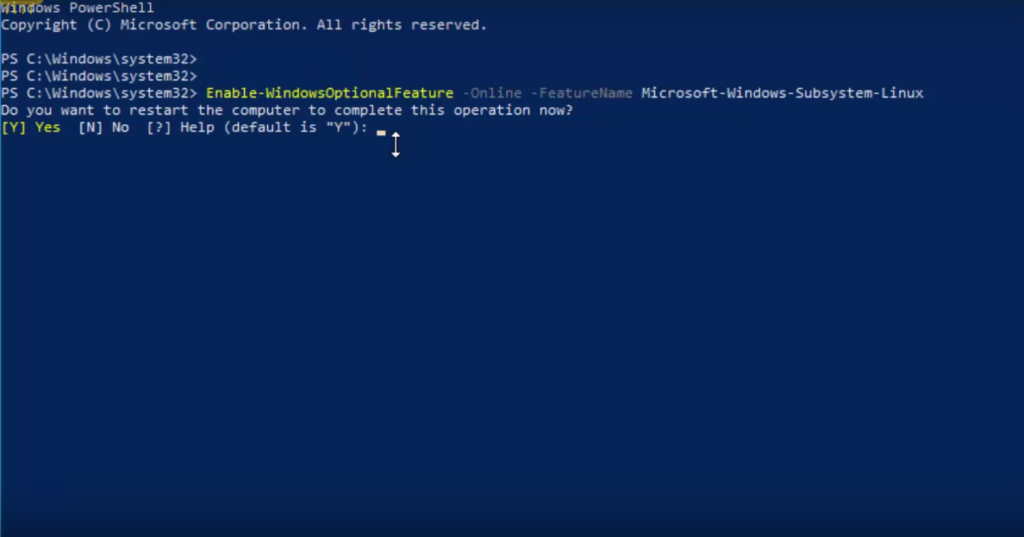
2. Installing Kali Linux using windows subsystem

"A blog about knowledge on technology which may be require on daily basis."


Sony and Microsoft chose not to ship the PlayStation 4 and Xbox One consoles with solid-state drives. They went with slower mechanical drives to keep costs down, but you can speed up load times for your console games by adding a solid-state drive to your PS4 or Xbox One.Modern console games are generally installed to and loaded from the hard drive, not just from discs. Using a faster solid-state drive will decrease load times in games. This is the one upgrade you can perform on a game console.You could also use this trick to add a larger mechanical hard drive and get more storage than the 500 GB drive that came with your console, if you prefer.
Hi guys, i m here to tell u that how to change ur phone's install location from internal sd card to external sd card or how to make your external sd card as ur primary install location.In some phones like micromax canvas hd the internal storage is verry less so we are unable to play big games but after this you can play any game easily because after this you are able to put obb files in external sdcard.
First of all i want to tell you that this process requires ROOT. So only if your phone is rooted this process will work otherwise not. To root your phone google it.
Now after root do the following steps :-
1. Download "ES File explorer " from play store .
2. Than open it and at the upper left corner you saw three horizontal lines. Tap on it.
3. Now a drop down menu is open in that tap on "tool " option.
4. Than again a menu is appear in that menu "on" the root explorer option.
5. Now close that menu And open another menu named as "local" Which is present at the upper side of the tool option.
6. Now another drop down menu is open from local in which select "device ".
7. Now in device folder a "system" named folder is also present. open it.
8. Than in system folder open the "etc" folder.
9. Than in etc a file named "vold.fstab " is present.
10. Open it than choose "text" than choose "es note editor " .
11. Now when you see this "## Example of a standard sdcard mount for the emulator / Dream
# Mounts the first usable partition of the specified device
dev_mount sdcard /storage/sdcard0 emmc@fat /devices/platform/goldfish_mmc.0 /devices/platform/mtk-msdc.0/mmc_host
dev_mount sdcard2 /storage/sdcard1 auto /devices/platform/goldfish_mmc.1 /devices".
12. At the place of sdcard0 put sdcard1 and at the place of sdcard1 put sdcard0. Now reboot your phone and bingo.
Note: you can also change it again if you want to change and now you can also place obb files in external sd card.
IF YOU FOUND THIS INFORMATION HELPFULL PLZZ SHARE IT AND SUBSCRIBE IT AND LEAVE YOUR COMMENTS THANK YOU.
To recover photos , videos and deleted files from your android phone first of all download "Android Data Recovery" . To download this software for windows click here for Mac click here . This program has a strong ability that not only can recover photos and videos, but also can recover contacts, text messages, and other data.
follow the given steps to learn how to recover deleted media files for Android devices.
Note:Please make sure that the battery of your Android device is more than 20%.
1. Losing the precious data of your Android? Don't be too flustered. Just keep your Android data from being overwritten any more. If, unfortunately, your Android data was overwritten, I will be sorry to tell you that the Android data was overwritten and what you just lost can't be retrieve back any longer.
2. After launching Android Data Recovery, connect Android devices to your Windows and Mac computer via usb cable.
3. If you don't open the debugging on your phone, this program will prompt you to enbale USB debugging on your phone. Please check what's the version of your Android phone, then follow the right steps to do it.
1) ForAndroid 2.3 or earlier: Enter"Settings" >Click "Applications" > Click"Development" > Check "USB debugging"
2) ForAndroid 3.0 to 4.1: Enter"Settings" > Click "Developer options" >Check "USB debugging"
3) ForAndroid 4.2 or newer: Enter"Settings" >Click "About Phone" > Tap"Build number" for several times until getting a note "You are under developer mode" > Back to "Settings" > Click"Developer options" >Check "USB debugging"
4. After the Android phone being detected by the program successfully, you will get the window below. Now please click on the green button "Start" to begin the data analysis .In the latest version of Android Data Recovery, you are empowered to selectively choose which type of files to be scanned.
Besides, you are also required to choose a storage scanning mode.
5. After finish analyzing , turn to your phone and click "Allow", so that you can go to the next step. At the same time, click on the "Start" button again.
Note: The "Allow" button sometimes will appear several times, just click it until it disappears. Don't be panic when it happens on your device.
6. All scanned result will be organized by file types(including Messages, Contacts, Gallery, Videos). You can select photos and video files to preview in the right windows, and then click "Recover" to save them on your computer.
That's it after performing those 5 steps you will get back your lost android data on your computer.
Here, by the way, I will prompt you to back up your Android frequently. Therefore, your Android backup is updated to the latest version. And you can restore the Android deleted photos, videos, music back from your Android backup.
Whenever you install a pirated window after some time windows shows a dialogue box that your window is not genuine and get genuine now and all your screen gets black and you are unable to put a wallpaper.
So here is the method of how u can get a genuine window .
With the help of window loader you can make your pirated window genuine. To make your window genuine follow my steps....
1. First of all download window loader . To download window loader click here
Here u can download this software in .zip format. So first of all unzip it and put all files in a folder.
2. Than open "window loader.exe" . Than a small dialogue box will appear.
3. Than tap install button. Than a successfull message will appear.
4. Restart your window. Thats it!!!! Congrats your window is now genuine.
If u found this information helpfull plzzzz follow it and share it.
On your Windows PC, you can boot into safe mode to load Windows without any third-party software. You can do the same on Android with Android’s safe mode. In safe mode, Android won’t load any third-party applications. This allows you to troubleshoot your device – if you’re experiencing crashes, freezes, or battery life issues, you can boot into safe mode and see if the issues still happen there. From safe mode, you can uninstall misbehaving third-party apps.
To boot your phone/tablet in safe mode follow my steps....
For android 4.1 or later
1. Long press power button . Than boot menu will appear.
2. Than long press "power off" button . Than a dialogue box will appear.
3. Than press Ok. That's it !!!!
For old android versions
1.long press the power button. Than the boot menu will appear.
2. Than tap power off or turn off button.
3. Turn on the phone or tablet by long-pressing the power button again.
4. Than Release the power button and, when you see a logo appear during boot-up, hold down both the Volume Up and Volume Down buttons. Continue holding the two buttons until the device boots up with a Safe mode indicator at the bottom-left corner of its screen.
To exit safe mode, restart your device normally. (Long-press the power button, select Power Off, and then long-press the power button again to turn it back on.) Your Android phone or tablet will boot and load third-party software as normal.
NOTE:- After entering the safe mode the safe mode logo will appear at the bottom left corner of the screen.
TROUBLESHOOTING WITH SAFE MODE:-
safe mode, you’ll only have access to the apps that came with your device. Apps you’ve installed will be disabled and any widgets you’ve added to your home screens won’t be present. Try using your device normally after booting into safe mode. If your issue – freezing, rebooting, crashes, battery life issues, or bad performance – is solved in Safe Mode, the problem is with a third-party app you’ve installed.
If u found this information helpful plzzzz follow it and share it!!! THANKS!!!
If you buy a new phone you will see that some games and apps are pre installed .
They only give you one or two trials and than ask for money .
But i will found how to play those games again and again. To know how to play follow my steps:-
1. When you use all trials and than they are asking for money .
2. Go to settings >apps and than swipe window towards left again and again than u will see a "all" named window in which you will see all system apps.
3. Than find that game, open it and tap a button "clear data".
That's it now u will able to play it again.
NOTE:- This process do not fully free that game. It can give you the same no. Of trials. You can repeat this process again and again .
If you found this information help full plzzz follow it and share it.
!!!Thank you!!!